
In this guide, you will manually integrate Weave.js into a Next.js application. You can reference the complete sample project in the Weave.js repository as you follow along.
|
Why Next.js?
Next.js is used in this quickstart to simplify the process by combining the frontend and backend into a single artifact. It’s a widely adopted framework built on React. For instructions on setting up Weave.js with separate artifacts, refer to our showcase implementations: |
Prerequisites
Before you begin, ensure that you meet the requirements.
|
Next.js version used
Weave.js is not compatible with React 19, which is included in Next.js 15. For this reason, this guide uses Next.js 14. |
Step by step
Set up your project
To have a Weave.js project running, follow these steps:
1. Install Next.js
If you don’t have a Next.js 14 project already, start by creating a new one. Run the following command, and when prompted, accept all the default values:
npx create-next-app@next-14When finished, navigate to the app folder and:
-
Delete the
node_modulesfolder. -
Delete the
package-lock.jsonfile.
Update add the following on the the package.json file:
-
Add the
typeproperty and set it tomodule:
{
  ...
  "type": "module",
  ...
}-
Add the
overridessection to thepackage.jsonfile in order to force the use of React18.2.0version:
{
  ...
  "devDependencies": {
    ...
  },
  "overrides": {
    "react": "18.2.0",
    "react-dom": "18.2.0"
  }
}-
Set strict dependencies for
reactandreact-domto version18.2.0, and version18.3.7for`@types/react` and@types/react-domas follows:
{
  ...
  "dependencies": {
    ...
    "react": "18.2.0",
    "react-dom": "18.2.0",
    ...
  },
  "devDependencies": {
    ...
    "@types/react": "18.3.7",
    "@types/react-dom": "18.3.7",
    ...
  },
  ...
}
``

Now execute a new install of the dependencies:

```shell
npm install
Set "baseUrl": "." in tsconfig.json to simplify module imports:
{
  "compilerOptions": {
    "baseUrl": ".",
    // ...
}
Navigate to the project folder and start the development server by running the following command:
npm run devOpen http://localhost:3000 in your browser to see the Next.js base app.
|
Failed to load images
Some images in the default Next.js template may not load correctly. You can safely ignore this issue since it is specific to the template and does not impact the functionality of Weave.js. |
2. Set up the backend
Follow the steps to set up the backend of the application.
3. Set up the frontend
Follow the steps to set up the frontend of the application.
4. Run the project
If you have completed all the previous steps, you should have a working project.
To run the project, use the following command:
npm run devIn a browser, navigate to http://localhost:3000.
You will see the Enter Room page:
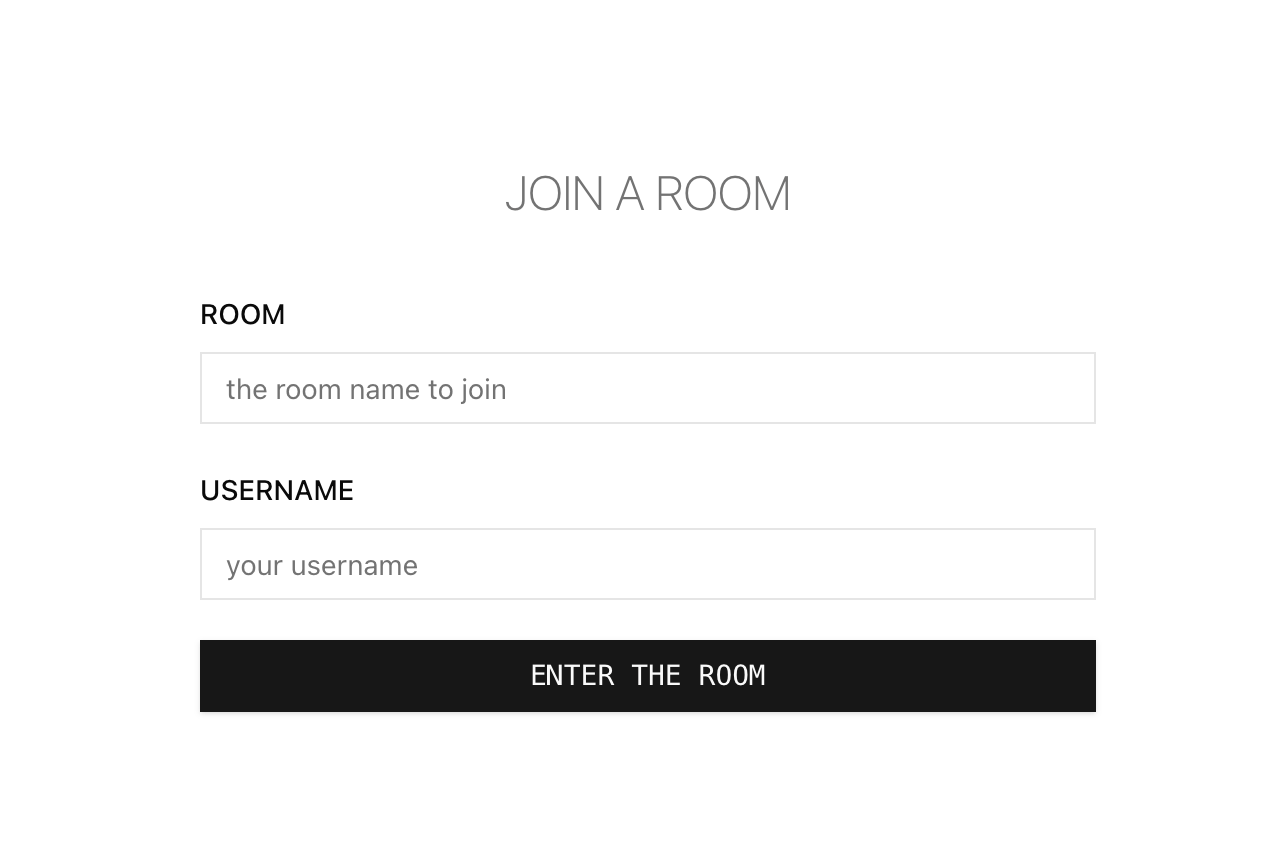
On it, enter a room name and your username, then click on the ENTER THE ROOM button.
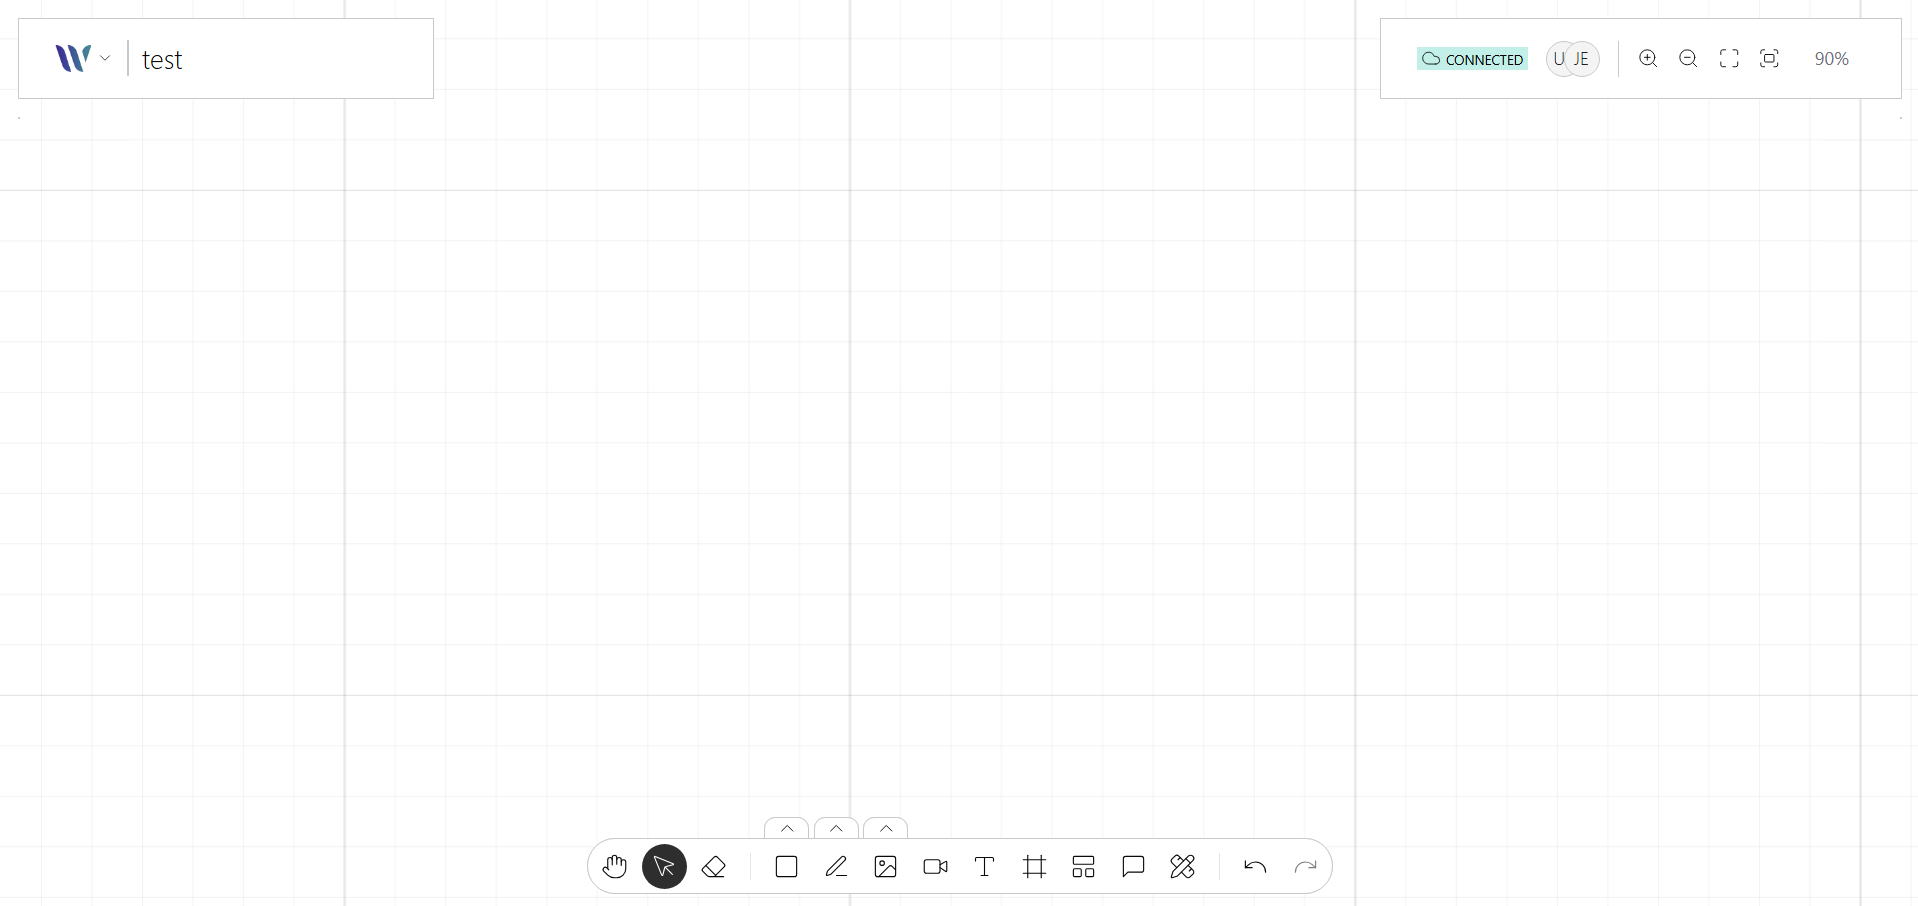
Once the Room loads, you can:
-
View the collaborative canvas.
-
Zoom and pan the canvas.
-
Create a simple node, such as a Rectangle.
Next, try opening another tab. Use a different username and the same room name and make some changes. In the first tab, you should see the changes made by this new user.
Congratulations! You have a working Weave.js application.
Next steps
Now that you’ve completed the quickstart, you’re ready to dive deeper into Weave.js and unlock its full potential. Here are some of our recommended next steps:
Review the API Reference
Dive into API reference to explore all available methods, utilities, and configuration options. This is your go-to resource as you start building more advanced features.