Quickstart
Build a real-time collaborative canvas application in minutes
Weave.js is a framework for building collaborative visual tools. It's composable, extendable, and includes a CLI for quickly scaffolding projects.
In this quickstart, you will learn how to set up your first real-time collaborative canvas project with Weave.js.
Prerequisites
Before you begin, ensure you meet the requirements.
What you will set up
- An Express backend server that handles real-time synchronization using a Weave.js Store provider.
- A Next.js frontend application that uses Weave.js to render a collaborative canvas with live updates.
Step by step
Scaffold the backend project
First, create the backend server that will handle all the real-time synchronization using a Weave.js Store provider. In this case, use the Weave.js Store WebSockets.
Open a terminal in your preferred folder and execute the following command:
pnpm create weave-backend-appThe CLI will prompt you with the following:
-
Project name: The folder name for the backend project (e.g.
my-service). -
Select the store: For this quickstart, select the store named:
Express.js: Weave.js Websockets Store
-
Install dependencies automatically: Select YES. This will install the necessary dependencies of the project.
Once complete, start the server:
cd [backend-project-name]
pnpm run dev
This will start the backend server at http://localhost:8080.
To verify everything is running correctly, open a browser and enter the URL http://localhost:8080/api/v1/health.
You should see the following response:
{ "status": "OK" }Scaffold the frontend project
Now, create the frontend application on top of Next.js and powered by Weave.js. This project will render the UI and canvas with live updates.
Open a new terminal in the same parent folder as the backend project and execute the following command:
pnpm create weave-frontend-appThe CLI will prompt you with the following:
-
Project name: The folder name for the frontend project (e.g.
my-app). -
Select the store: For this quickstart, select the store named:
Express.js: Weave.js Websockets Store
-
Install dependencies automatically: Select YES.
Once complete, start the frontend application:
cd [frontend-project-name]
pnpm run dev
This will start the Next.js frontend application at http://localhost:3030.
Self-signed certificate warning
When running npm run dev, you might see a warning about self-signed certificates.
This is expected. Next.js is setting up HTTPS for local development, and may prompt for your system password.
It is a one-time setup.
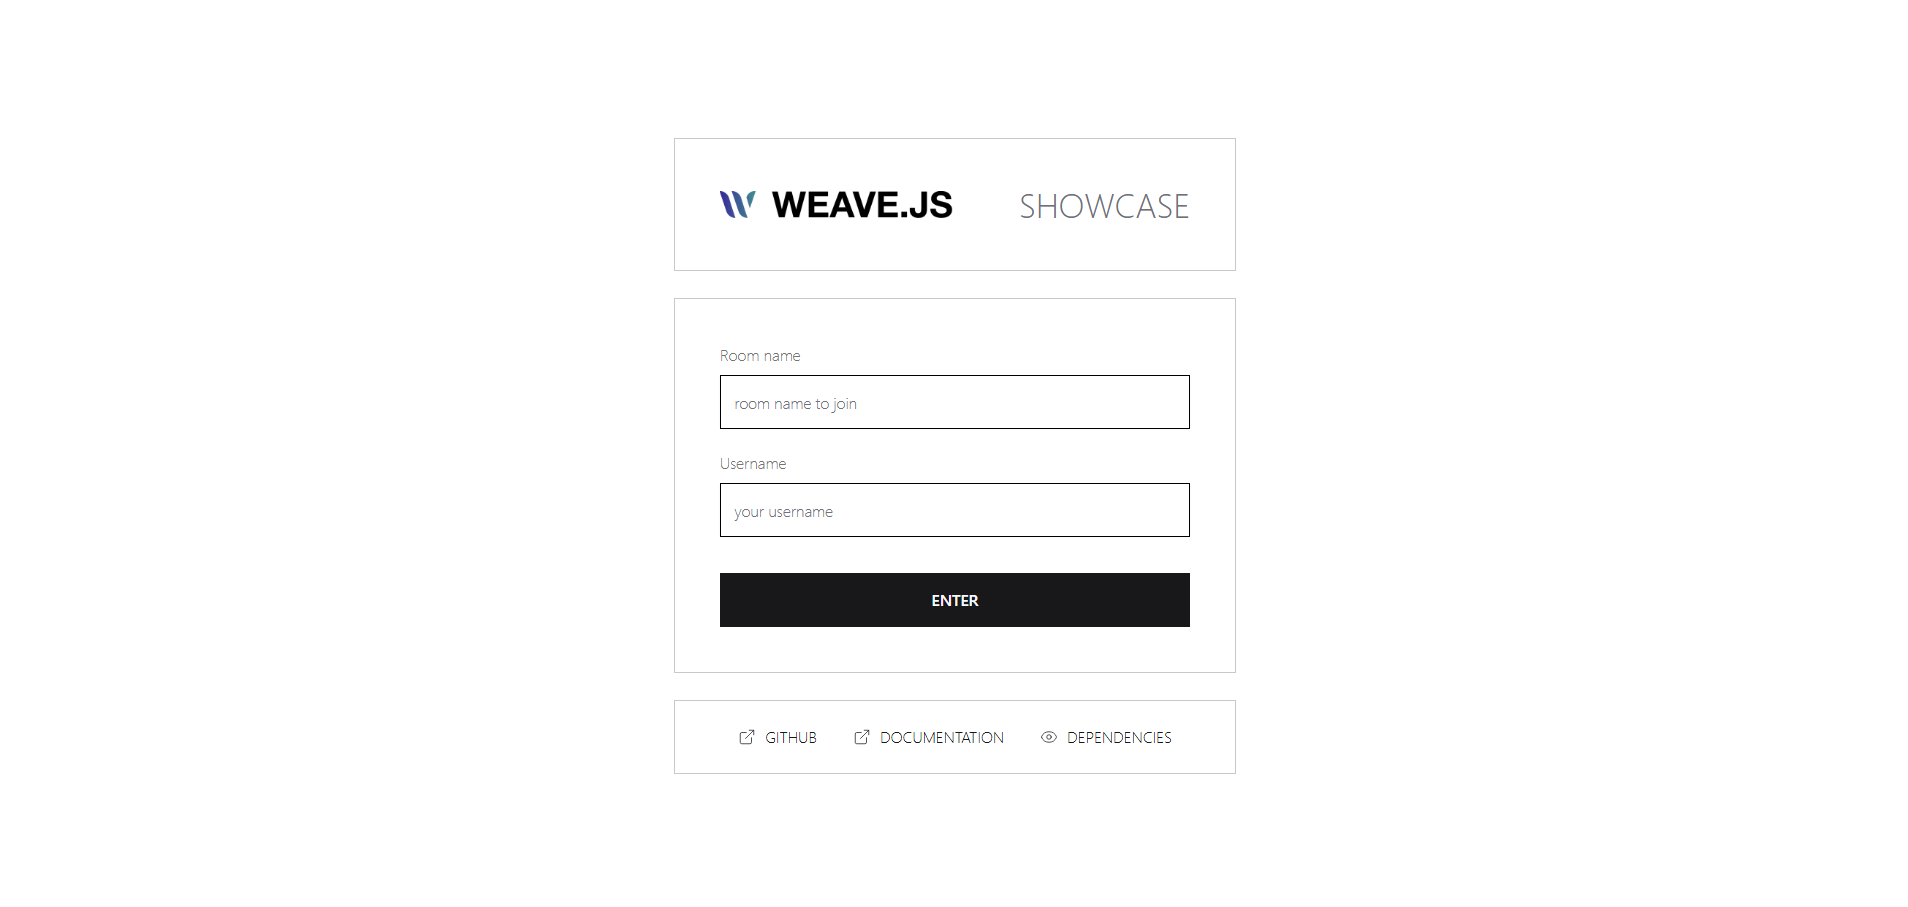
Open a browser and navigate to http://localhost:3030.
You should see the room entry page (Next.js may take a moment to compile):
Join a room and interact with the canvas
To start using the canvas, follow these steps:
- Enter the room name you want to join.
- Type your username.
- Press the ENTER button.
Once the room is loaded (note that pages may take some time to compile), you should see the following screen:
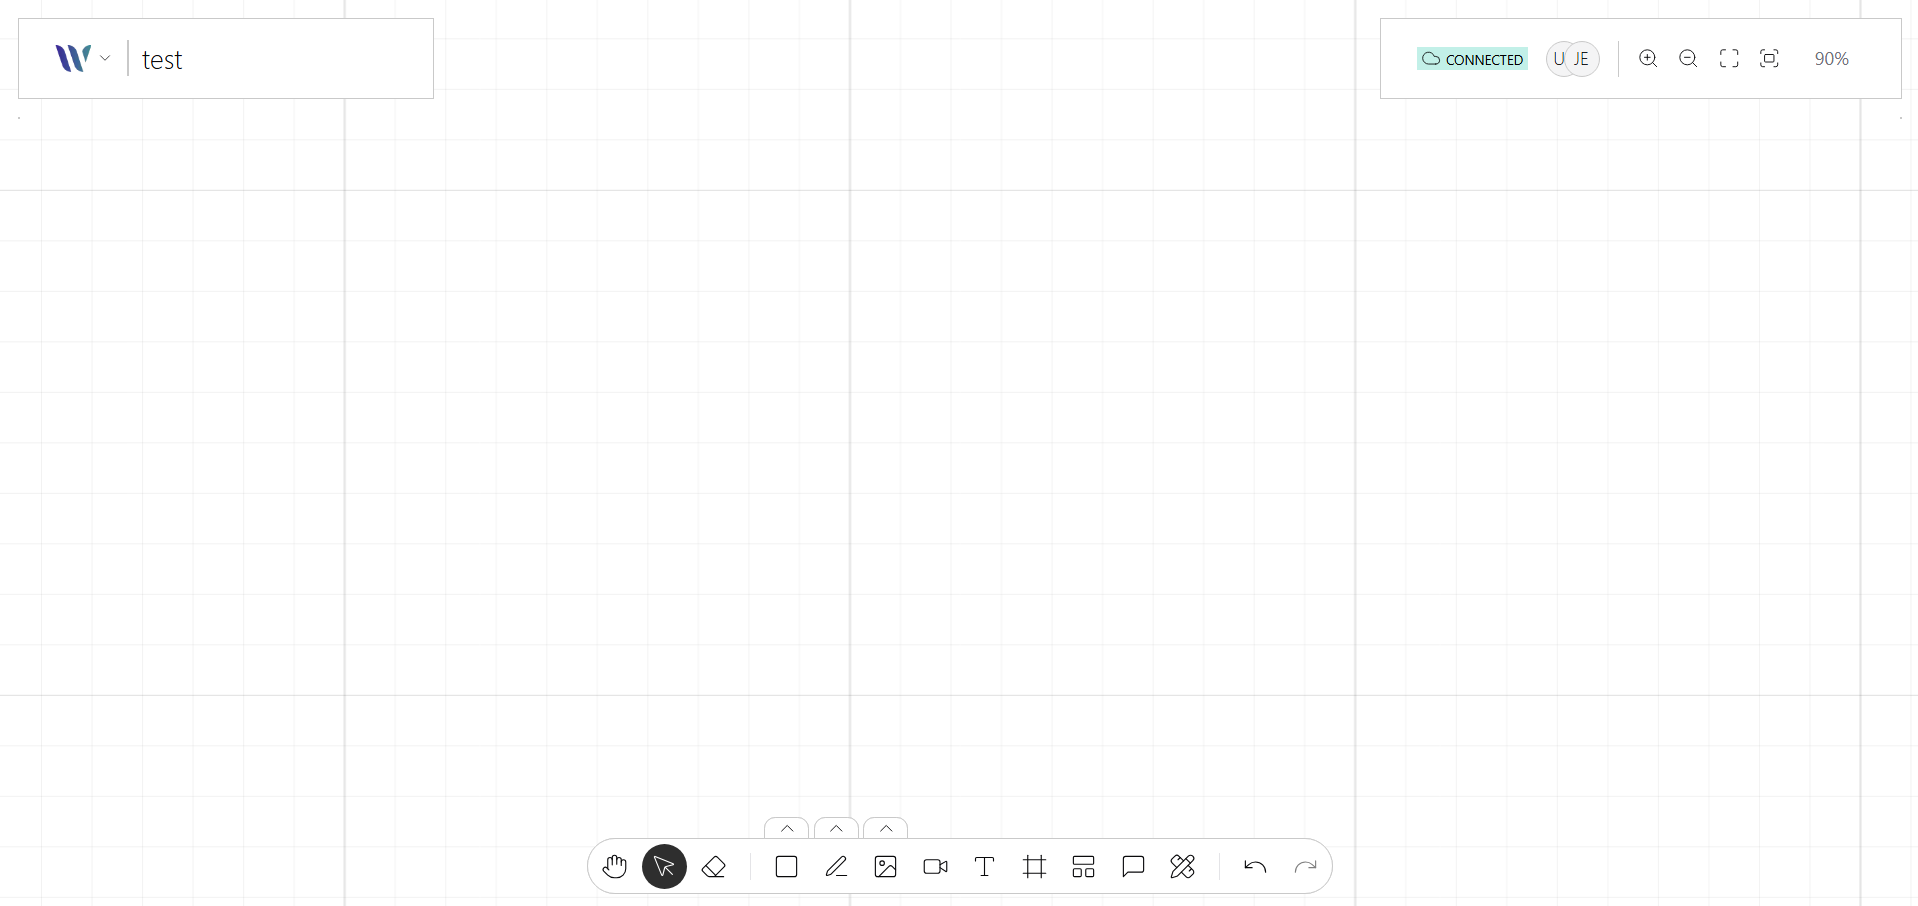
Add shapes, draw elements, or interact with objects on the canvas. Changes are synchronized in real time across all participants in the room.
Next steps
Now that you have completed the quickstart, you are ready to dive deeper into Weave.js and unlock its full potential. Here are some recommended next steps:
Explore the building blocks
To learn how to build modular and interactive tools, explore how Weave.js is structured under the hood, and get familiar with core concepts like:
Review the API Reference
Dive into API reference to explore all available methods, utilities, and configuration options. This is your go-to resource as you start building more advanced features.